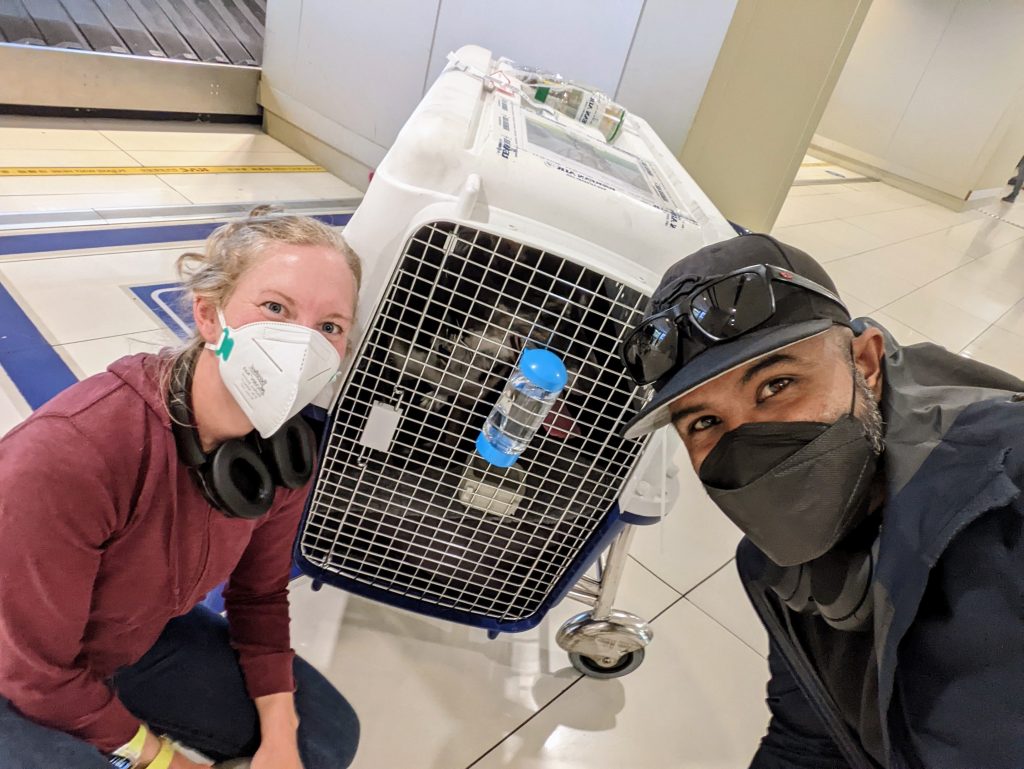
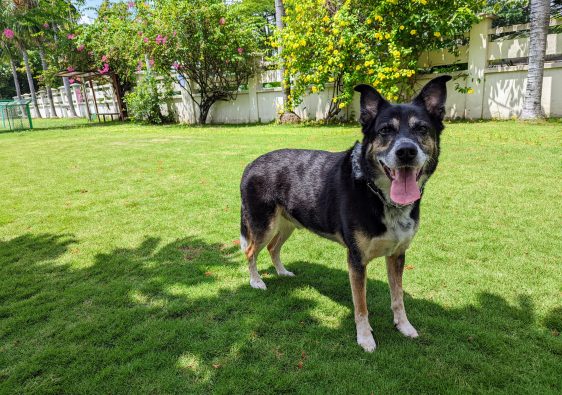
Upon moving abroad it was no question that we wanted our pup to come with us! And just to be clear, when I say “pup” I’m referring to a 60lbs+ Border Collie mix named Buddy!
Figuring out all of the details can take some time, and of course it depends on the countries that you are travelling to and from. One of our “go-to” sites that helped us with figure out the details was www.pettravel.com. This is a great site, and has loads of information to help you plan the specifics!We travelled with our dog on multiple flights, and thus I can speak about what we needed to do in order to prepare for each trip!
Overall the main things that we had to plan and prepare for were his vaccinations, crate, vet checks, and airline transit route. A good starting point I found was determining what was paperwork was required for the country we were travelling to. If it is a rabies free country, your dog will be required to have a titer test done. This test takes a few months to get your results. Generally speaking, it is really best to get this process started and planned over three to five months in advance as this will help you spread out his vet appointments, get the paperwork in order, find a dog crate and train your pup in it, and finally an airline to travel with.
Vaccinations and Pet Health Certificate
Right off of the bat you’ll want to find out what vaccinations are needed by your pet in order for him/her to be permitted to enter. Some countries may have a quarantine period for your dog, however this may also be dependent on if you can show the proper paperwork to indicate otherwise.
You will also want to research the paperwork needed from your country, such as a health certificate that may be required in order to leave your country with your pet.
Finding the Perfect Airline Crate
Finding the proper crate size for you dog is essential. We initially thought that our size large crate would be big enough for our dog since he was able to lay down with ease inside, however after carefully reading through the guidelines we quickly realized that he needed much more room. Specifically he needed to have an additional clearance of 3 inches above his ears. Although his ears stand tall only some of the time, it is still required to have the clearance when his ears are at their highest. Due to this, Buddy needed the “giant sized” dog crate.
You can find airline approved dog crates both in store and online. We were able to find ours at Petsmart, in Canada.
Crate Training
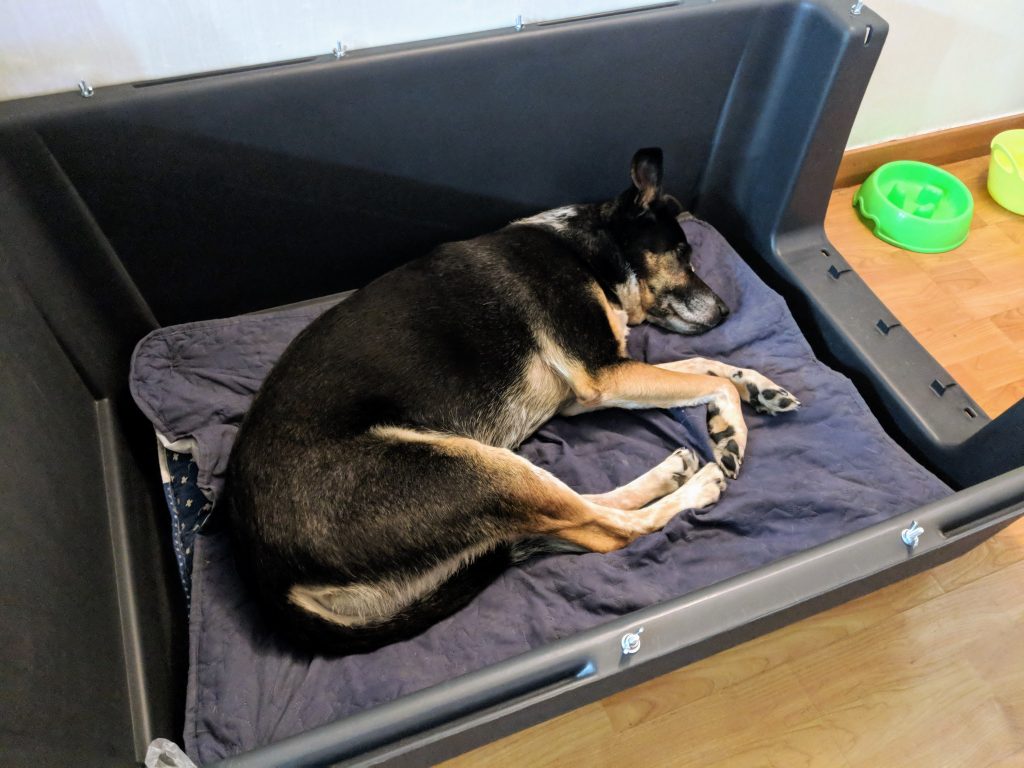
About two weeks before we departed, we started crate training Buddy to prepare him for the journey overseas! We initially started him with just the bottom half of the crate and put his bed inside. After about a week we added the top for him to get used to the full crate. Buddy was great with the transition, and he had no issues with that time frame. Of course, this may need to be longer depending on your pet.
Choosing the Right Airline for you!
Settling on an airline really did take some time. Each airline works a little differently and the prices vary. Also keep in mind the time of year and the weather. Specifically if it is a hot summer month there may be a chance where your pet might not be permitted to fly as the temperature is too high. Overall with our dog we have travelled with EVA Airlines, Korean Air, and Air Asiana. All airlines took great care of Buddy and we were quite pleased overall.
Preparing the Crate for Take-Off!
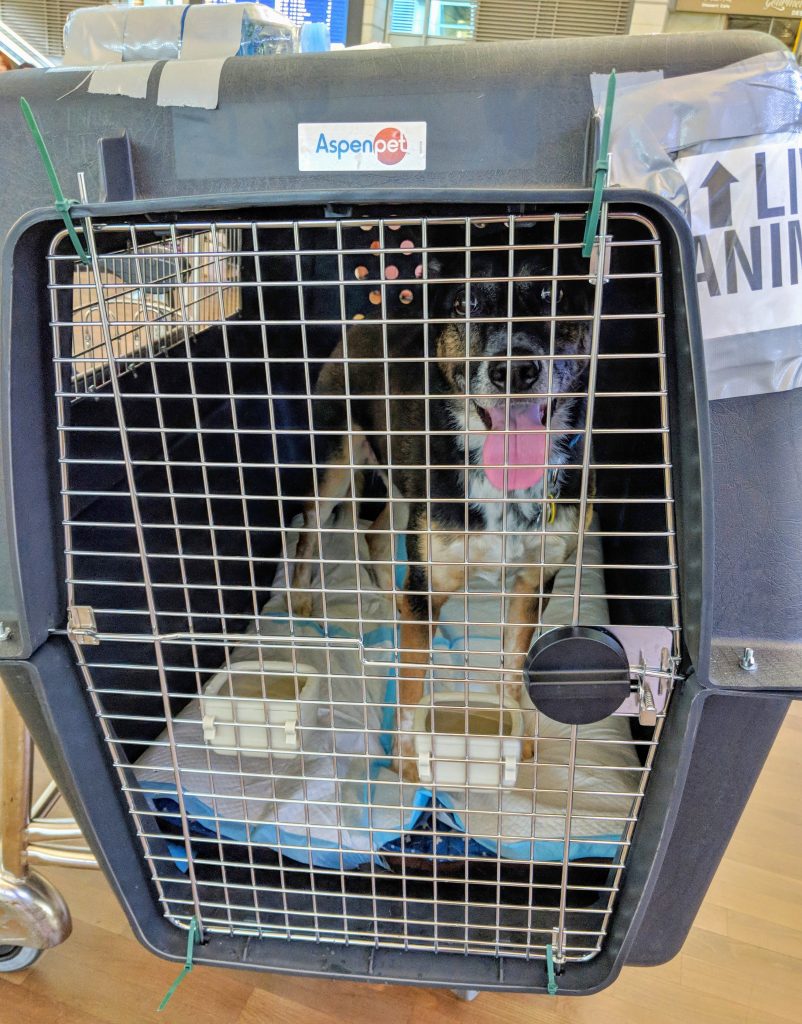
Note only is finding the perfect airline crate a job in itself, there are a few key steps that you’ll need to take in order to have the crate ready to be airborne.
- Live-Animal sign – We saw that you can purchase Live-Animal stickers, however we opted to simply print the sign on a full 8.5×11 piece of paper, and duct taped two signs on his crate (in protective sleeves).
- Water bowls or Water feeder – You’ll need to purchase water bowls for the inside of the crate. These water bowls attach to the inside of the door. You can also purchase a water feeder (see picture below). I would recommend this as it works great to ensure that the water is accessible for the whole flight. Be sure to have your dog practice drinking water from the feeder prior to your flight.
- Extra food – Although it never got used, we did tape a ziploc bag of food to the top of his crate for “just-in-case” purposes.
- Water bottle – We taped a plastic water bottle to the top of his crate. When we received him following our flights we saw that the bottle was used up. (This was likely used during a layover period).
- Bed – we were lucky that Buddy’s main bed fit inside his giant sized crate. So we simply put it there so that he was comfortable during the flight.
- Pee-pads – We covered his bed with pee-pads from the dollar store. He actually never went during the entire journey (yes we were surprised too).
- Picture of your pet – Just to ensure that the right animal was inside the right crate, we printed a picture of Buddy and placed it in a protective sleeve and taped it to the top of his crate.
- Information – We also wrote out his microchip number and my personal information so that the airline knew his name, microchip number, and my information.
- Zip-ties – it was required by the airline that we also zip-tie the door to the side of the crate as a means to ensure that the door remains closed. This was also helpful in determining if Buddy was let out during his lay over of not. In case you are wondering, he remained inside the crate, as no zip-ties were clipped.